
AIRVO 2 Manual: A Comprehensive Guide
This manual details setup‚ operation‚ and safety for the AIRVO 2. Follow instructions in the Technical and Disinfection Kit Manuals (900PT600) carefully for optimal use and patient care.
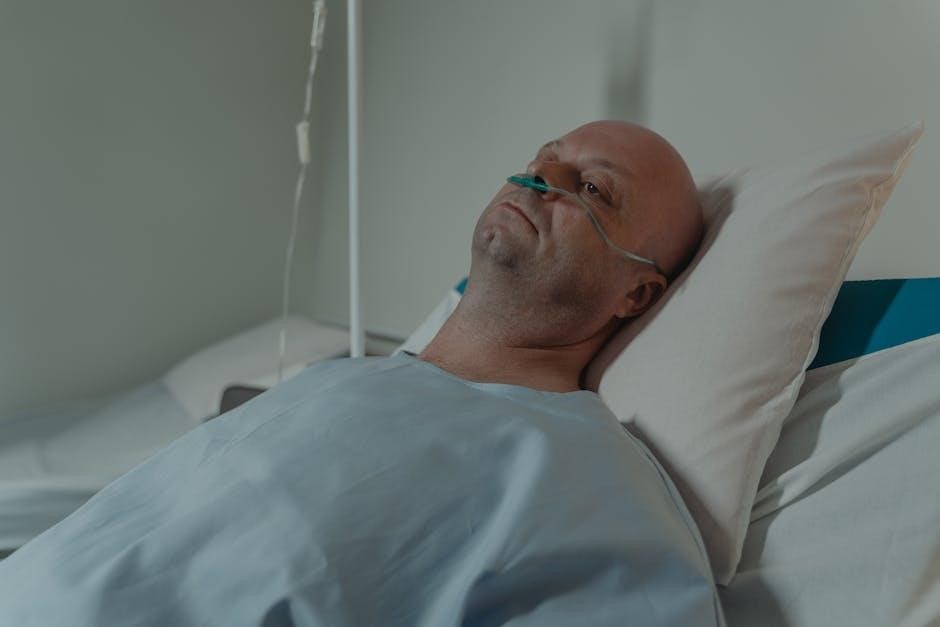
The AIRVO 2 is a high-flow nasal cannula (HFNC) therapy device designed to deliver warm‚ humidified gas to patients requiring respiratory support. This system offers a comfortable and effective alternative to traditional oxygen therapy and non-invasive ventilation for a wide range of clinical applications. Before initial use on May 4‚ 2026‚ or any subsequent patient‚ thorough understanding of this manual and associated documentation is crucial.
Proper setup‚ as detailed in the AIRVO 2 Technical Manual‚ is paramount. Between patients‚ meticulous cleaning and high-level disinfection‚ guided by the Disinfection Kit Manual (900PT600)‚ are essential to prevent cross-contamination and ensure patient safety. The AIRVO 2 system incorporates features like optimized humidification and precise flow control‚ enhancing patient comfort and treatment efficacy.
This guide provides comprehensive instructions‚ but always refer to the complete AIRVO 2 User Manual and supplementary training resources available on the Fisher & Paykel Healthcare website (Link/airvo) for detailed guidance and troubleshooting assistance. Contact your local representative for further support.
Understanding High-Flow Nasal Cannula Therapy
High-Flow Nasal Cannula (HFNC) therapy‚ delivered via the AIRVO 2‚ represents a significant advancement in respiratory support. Unlike traditional oxygen therapy‚ HFNC provides precisely heated and humidified gas at high flow rates‚ offering multiple physiological benefits. These include improved oxygenation‚ reduced work of breathing‚ enhanced mucociliary clearance‚ and a more comfortable patient experience.

The AIRVO 2 system’s ability to deliver consistent and controlled gas flow is key to its effectiveness. This is particularly valuable for patients requiring support for conditions ranging from acute respiratory failure to post-operative care. Utilizing interfaces like the Optiflow Junior 2 for pediatric patients and specialized tracheostomy interfaces ensures optimal humidification even with bypassed airways.
Understanding the principles of HFNC‚ alongside diligent adherence to the instructions within this manual and the Technical Manual‚ is vital for successful implementation. Proper setup and maintenance‚ including disinfection procedures detailed in manual 900PT600‚ are crucial for patient safety and optimal outcomes.
AIRVO 2: Key Features and Benefits
The AIRVO 2 offers several key features designed to optimize high-flow nasal cannula therapy. Its integrated humidification system delivers warm‚ saturated gas‚ minimizing condensation and enhancing patient comfort. Precise flow control allows clinicians to tailor therapy to individual patient needs‚ ranging from neonates to adults‚ utilizing interfaces like Optiflow Junior 2 and tracheostomy options.
Benefits include improved oxygenation‚ reduced anatomical dead space‚ and decreased work of breathing. The AIRVO 2’s consistent performance and reliable delivery contribute to enhanced patient outcomes. Furthermore‚ the system’s user-friendly interface simplifies operation and monitoring.
Adherence to the instructions in the AIRVO 2 Technical Manual is essential for maximizing these benefits. Regular cleaning and disinfection‚ as outlined in the Disinfection Kit Manual (900PT600)‚ ensure optimal hygiene and prevent cross-contamination. Accessing training resources on the AIRVO website further supports effective utilization.
Setting Up the AIRVO 2 for First-Time Use
Prior to initial patient use‚ thorough setup of the AIRVO 2 is crucial. Begin by carefully reviewing the instructions detailed within the AIRVO 2 Technical Manual. This manual provides a step-by-step guide to ensure correct assembly and functionality.
First‚ familiarize yourself with all system components. Ensure all parts are present and undamaged. Next‚ assemble the system according to the manual’s diagrams‚ paying close attention to the proper connection of the water chamber and breathing tube connector. Remember to remove single-use accessories before setup.
Crucially‚ the AIRVO 2 requires adherence to electromagnetic compliance (EMC) guidelines. Installation and operation must align with the EMC information provided in both the User and Technical Manuals. Following these steps guarantees safe and effective operation from the outset.
Technical Manual Instructions ⸺ Initial Setup
The AIRVO 2 Technical Manual outlines a precise initial setup procedure. Before first use‚ carefully follow these instructions to guarantee optimal performance and patient safety. Begin by verifying all components are accounted for and undamaged‚ referencing the parts list within the manual.
Connect the water chamber securely to the unit‚ ensuring a tight seal to prevent leaks. Subsequently‚ attach the breathing tube connector‚ squeezing the sides for easy alignment and a firm fit. Proper connection is vital for delivering humidified gas effectively.
Pay close attention to the EMC considerations detailed in the manual. Correct installation‚ as per these guidelines‚ is essential to avoid electromagnetic interference. Finally‚ confirm the system is functioning correctly before connecting to a patient. Refer to the manual’s troubleshooting section for assistance if needed.
AIRVO 2 Components and Their Functions
The AIRVO 2 system comprises several key components‚ each with a specific function. The main unit houses the heated wire circuit‚ responsible for warming and humidifying the gas mixture. The water chamber holds the distilled water‚ crucial for generating humidity‚ and must be regularly managed.
The breathing tube connector facilitates a secure connection between the AIRVO 2 and the patient’s interface – either the Optiflow Junior 2 for pediatric patients or the tracheostomy interface for those with a bypassed airway. The outlet elbow connects to the breathing circuit and requires diligent cleaning and disinfection.
Understanding the role of each component is vital for proper operation and maintenance. Regular inspection and adherence to cleaning protocols‚ as detailed in the Disinfection Kit Manual (900PT600)‚ ensure optimal performance and patient safety. Proper function of each part is essential.

Assembling the AIRVO 2 System
Before initial use‚ carefully assemble the AIRVO 2 following the instructions outlined in the AIRVO 2 Technical Manual. Begin by ensuring the main unit is stable and connected to a suitable power source. Next‚ securely attach the water chamber‚ gripping the port adapter and aligning it correctly with the unit.
Following water chamber attachment‚ connect the outlet elbow‚ ensuring a tight seal to prevent leaks. Finally‚ attach the appropriate breathing tube connector – selecting either the Optiflow Junior 2 or the tracheostomy interface based on the patient’s needs. Squeeze the connector sides for easy attachment.
Double-check all connections for security before operation. Proper assembly is crucial for delivering effective high-flow nasal cannula therapy. Refer to the user manual and training videos (Link/airvo) for visual guidance. Always prioritize a secure and leak-proof system.
Water Chamber Management
Proper water chamber management is vital for optimal AIRVO 2 performance and effective humidification. Always use sterile water when filling the chamber‚ ensuring it reaches the indicated maximum fill line. Avoid overfilling‚ as this can lead to condensation in the breathing circuit. Regularly inspect the water chamber for any signs of damage‚ such as cracks or discoloration.
To remove the water chamber‚ grip the port adapter and gently pull it away from the AIRVO 2 unit. Dispose of any remaining water after each patient use‚ adhering to hospital protocols for contaminated waste; Before reassembling‚ thoroughly clean and disinfect the chamber following the instructions in the Disinfection Kit Manual (900PT600).
Consistent water chamber maintenance ensures consistent humidity delivery‚ enhancing patient comfort and therapeutic efficacy. Refer to the AIRVO 2 User Manual for detailed guidance and troubleshooting tips.
Breathing Tube Connector Attachment & Removal
The breathing tube connector securely links the patient’s breathing circuit to the AIRVO 2. To attach‚ align the connector with the port on the AIRVO 2 and gently push until a firm click is heard‚ confirming a secure connection. Ensure the connector is fully seated to prevent leaks and maintain consistent therapy.
For removal‚ squeeze the sides of the breathing tube connector simultaneously. While squeezing‚ lift upwards to detach it from the AIRVO 2. Avoid pulling directly on the connector without squeezing‚ as this could damage the unit or the connector itself.
Single-use breathing tube connectors must be disposed of after each patient use‚ following local regulations and hospital protocols for contaminated materials. Always replace with a new‚ sterile connector before initiating therapy with a new patient. Refer to the AIRVO 2 User Manual for detailed instructions.
Electromagnetic Compliance (EMC) Considerations

The AIRVO 2 requires specific precautions regarding electromagnetic compatibility (EMC) to ensure accurate and safe operation. It’s crucial to install and put the device into service strictly according to the EMC information detailed within both the AIRVO 2 User Manual and the accompanying Technical Manual.
Electromagnetic interference from other medical equipment‚ portable radio communication devices‚ and other sources can potentially disrupt the AIRVO 2’s performance. Maintaining appropriate distances from these sources‚ as outlined in the manuals‚ is essential.
Proper shielding and grounding are vital for minimizing EMC risks. Regularly review the EMC guidelines to stay informed about potential interference sources and mitigation strategies. Failure to adhere to these guidelines may result in inaccurate readings or device malfunction‚ potentially compromising patient safety. Always consult the manuals for the most up-to-date EMC instructions.
Cleaning and Disinfection Procedures
Maintaining strict hygiene is paramount when using the AIRVO 2. Between each patient‚ the device exterior must be thoroughly cleaned and high-level disinfected. Detailed instructions for this process are comprehensively outlined in the Disinfection Kit Manual (900PT600). Adherence to these guidelines is critical for preventing cross-contamination and ensuring patient safety.
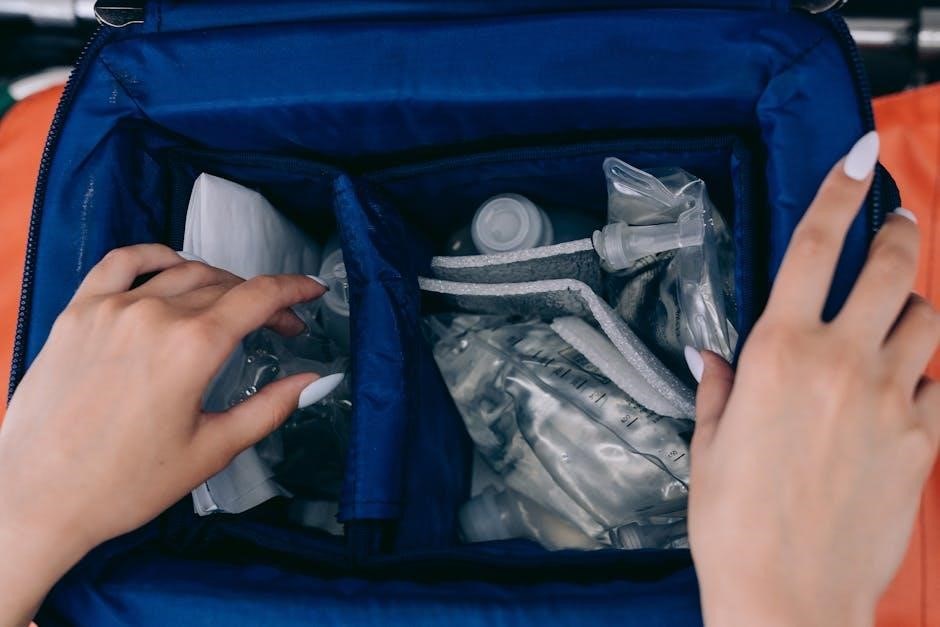
Single-use accessories‚ such as the breathing tube connector and water chamber‚ should be removed after each use and disposed of responsibly‚ following local regulations and hospital protocols for contaminated waste. The Outlet Elbow also requires cleaning and high-level disinfection‚ referencing the 900PT600 manual for specific steps.
Always refer to the complete AIRVO 2 User Manual for detailed instructions regarding cleaning and disinfection. Proper reprocessing extends the lifespan of the device and guarantees optimal performance.
Disinfection Kit Manual (900PT600) ⸺ Detailed Instructions
The Disinfection Kit Manual (900PT600) provides crucial‚ step-by-step instructions for effectively cleaning and high-level disinfecting the AIRVO 2 exterior and the Outlet Elbow. This manual details the appropriate disinfectants to use‚ ensuring compatibility with the device materials and optimal germicidal action. It outlines precise dilution ratios‚ contact times‚ and rinsing procedures.
Carefully follow the manual’s guidance on personal protective equipment (PPE) required during the disinfection process‚ safeguarding healthcare personnel from exposure to potentially harmful chemicals. The manual also specifies the correct method for dismantling components for thorough cleaning and reassembly post-disinfection.

Strictly adhering to the instructions within 900PT600 is essential for maintaining the AIRVO 2’s functionality and preventing damage. Proper disinfection minimizes the risk of healthcare-associated infections and ensures patient safety.
Reprocessing the AIRVO 2 Exterior
Between each patient‚ thorough reprocessing of the AIRVO 2 exterior is paramount to prevent cross-contamination and maintain patient safety. This process involves meticulous cleaning followed by high-level disinfection‚ as detailed in the Disinfection Kit Manual (900PT600). Begin by disconnecting all single-use accessories‚ disposing of them appropriately according to hospital protocols and local regulations.
Carefully wipe down all external surfaces of the AIRVO 2 with a compatible cleaning agent‚ removing any visible debris or residue. Subsequently‚ apply a high-level disinfectant‚ ensuring complete coverage and adherence to the recommended contact time specified in the 900PT600 manual.
After disinfection‚ thoroughly rinse the exterior with potable water and allow it to air dry completely before applying to the next patient. Consistent adherence to these reprocessing steps is vital for optimal performance and infection control.
Troubleshooting Common Issues
If you encounter issues with your AIRVO 2‚ first consult the AIRVO 2 User Manual for detailed guidance. Common problems may include unexpected alarms‚ inaccurate flow delivery‚ or difficulties with humidifier function. Ensure all connections are secure – the breathing tube connector and water chamber should be firmly attached.
If alarms persist‚ verify the settings and check for any obstructions in the flow path. For humidifier issues‚ confirm adequate water levels and inspect the water chamber for damage or scaling. If the device fails to power on‚ check the power cord and outlet.
For further assistance‚ access the training videos available on the AIRVO website (Link/airvo) or contact your Fisher & Paykel Healthcare representative. Remember to document any issues and steps taken before seeking support‚ aiding in efficient resolution.
Patient Safety Precautions
Prioritize patient safety when using the AIRVO 2. Always adhere to hospital protocols for infection control‚ including proper cleaning and disinfection between patients‚ as detailed in the Disinfection Kit Manual (900PT600). Ensure the selected Optiflow interface (Junior 2 or tracheostomy) is appropriately sized for the patient to prevent leaks or discomfort.
Monitor patients closely for any adverse effects‚ such as skin irritation from the interface or signs of respiratory distress. Regularly assess the humidification level to avoid condensation in the breathing circuit. The AIRVO 2 requires special electromagnetic compliance (EMC) precautions; install and operate it according to the User and Technical Manuals.
Never use damaged components and promptly report any malfunctions. Proper training and adherence to these precautions are crucial for safe and effective high-flow nasal cannula therapy.
Optiflow Interfaces: Junior 2 & Tracheostomy
The AIRVO 2 system utilizes Optiflow interfaces designed for diverse patient needs. The Optiflow Junior 2 nasal interface series is specifically engineered for neonates‚ infants‚ and children‚ offering a comfortable and secure fit for this vulnerable population. Proper sizing is critical to ensure effective therapy and minimize pressure injuries.
For patients with a tracheostomy‚ the Optiflow tracheostomy interface provides optimal humidification directly to the bypassed airway. This is crucial for maintaining airway moisture and preventing mucus plugging. Ensure the interface is securely connected to the tracheostomy tube‚ following established clinical practices.
Both interfaces deliver heated‚ humidified gas‚ enhancing patient comfort and promoting optimal respiratory function. Refer to the AIRVO 2 User Manual for detailed guidance on interface selection‚ fitting‚ and troubleshooting.
AIRVO 2 Training Resources & Support
Fisher & Paykel Healthcare provides comprehensive training resources to ensure proficient AIRVO 2 operation. Access detailed training videos on the official AIRVO website at Link/airvo‚ covering setup‚ troubleshooting‚ and best practices for high-flow nasal cannula therapy. These resources are designed for clinicians of all experience levels.
The AIRVO 2 Technical Manual offers in-depth technical specifications and guidance for initial setup and maintenance. Supplementing this‚ the Disinfection Kit Manual (900PT600) provides step-by-step instructions for thorough cleaning and high-level disinfection between patients‚ crucial for infection control.
For personalized assistance and support‚ contact your dedicated Fisher & Paykel Healthcare representative. They can address specific questions‚ provide on-site training‚ and assist with any technical challenges. Prioritize patient safety by utilizing all available resources.